Custom App Icons in Flutter
June 2020
Custom icons are obviously a must-have for any mobile app, so let's see how to create and include them in your Flutter project in three steps:
- create the icons from a regular PNG file
- move the Android icons into your Flutter project
- do the same for the iOS version
1. Create the Icons
Head over to this App Icon Generator and upload your PNG. Make sure to select at least iPhone and Android among the available options, then click on Generate to download a zip file.
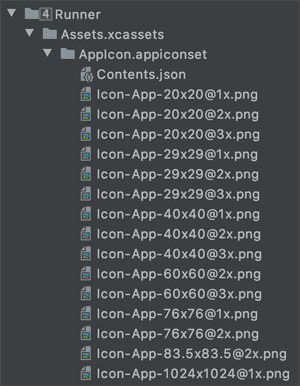
2. Import the iOS Images
In Android Studio (or your IDE of choice), from the root of your Flutter project, find the iOS - Runner subfolder, then replace the pre-existing Assets.xcassets folder with the one included in your zip file.
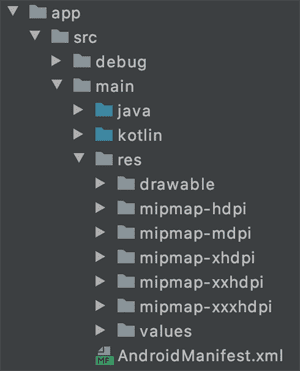
3. Import or Generate the Android Images
The path for Android is a little bit longer: android - app - src - main - res. You can simply replace all the folders whose names start in mipmap- with the ones similarly named in the zip file you created in step 1.
Alternatively — since we are in Android Studio after all — we can use an internal tool to generate the Android images.
After following the android - app - src - main path, we can right-click on main and select New - Image Asset. In the resulting window we can import our original PNG file under Source Asset - Path, resize it with the Resize slider and then proceed to overwrite the existing icons.


